
Home Organizing Guide
Organizing your home can feel overwhelming, but with simple, manageable steps, it becomes completely doable. This guide walks you through a clear process to help you create a space that feels calm, functional, and easier to live in.
Step 1: Start Small and Set Yourself Up For Success
-
Choose one small area (a drawer, one shelf, a single category like shoes).
-
Set a time limit (30–60 minutes) to avoid burnout.
-
Gather basic supplies: trash bags, donation box, recycling bin, and a “relocate” bin.
-
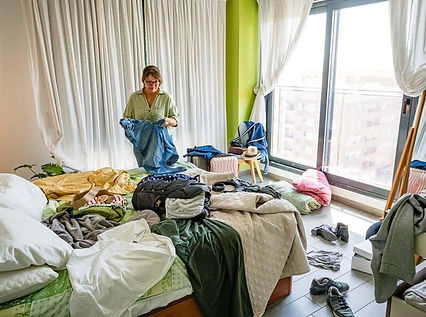
Expect it to look worse before it looks better—this is part of the process.

2. Declutter First (Do NOT organize before this step)
Key rule: Do not sort or organize items you don’t plan to keep.
Simple Decluttering Method:
-
Take everything out of the space.
-
Handle each item one at a time.
-
Sort into:
-
Keep
-
Donate
-
Trash/Recycling
-
Relocate (belongs somewhere else)
-
Decision Questions:
-
Do I use this regularly?
-
Would I buy this again today?
-
Do I have duplicates?
-
Is this adding value to my life?
Helpful Tips:
-
Avoid “maybe” piles—make a decision.
-
Declutter by category (all shirts, all cords) when possible.
-
It’s okay to take breaks.

3. Where to Donate
(Salt Lake City Options)
-
Deseret Industries – clothing, household items, furniture
-
Goodwill – general donations
-
The Road Home – check for specific needs (often hygiene items, clothing)
-
YWCA Utah – women’s items, professional clothing
-
Big Brothers Big Sisters of Utah – may offer pickup services
Tip: Always check current donation guidelines before dropping items off.

4. Recycling & Disposal
(Salt Lake City)
-
Salt Lake City Waste & Recycling – curbside recycling, bulk waste info
-
CHaRM (Collection Center for Hard-to-Recycle Materials) – plastics, Styrofoam, electronics
-
Best Buy – electronics drop-off
-
Household Hazardous Waste Facility – paint, chemicals, batteries
Common Categories to Separate:
-
Paper & cardboard
-
Plastics
-
Glass
-
Metal
-
E-waste (cords, devices)
-
Hazardous materials

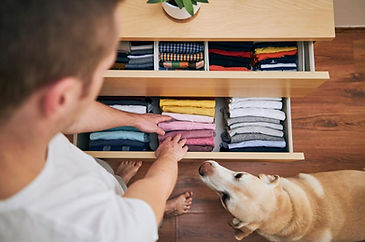
5. Sort What You’re Keeping
-
Group like items together (all cleaning supplies, all office supplies, etc.).
-
Subdivide categories if needed (e.g., short sleeve vs. long sleeve).
-
Identify how much space each category realistically needs.


6. Create Functional Systems (Not Just “Organized Spaces”)
Focus on function over appearance.
Key Principles:
-
Store items where you use them
-
Make frequently used items easy to access
-
Use containers to create boundaries
-
Label when helpful (especially shared spaces)
Examples:
-
Entryway: basket for keys + mail
-
Kitchen: zones (cooking, baking, snacks)
-
Closet: group by type and season
7. Put Everything Back with Intention
-
Assign a home for every item.
-
Avoid overfilling spaces—leave some room for flexibility.
-
If something doesn’t fit, reassess (space or quantity).

8. Maintain Your System (This is the Key to Long-Term Success)
Simple Maintenance Habits:
-
Do a 5–10 minute daily reset
-
Put items back after using them
-
Keep a donation box available year-round
Weekly / Monthly:
-
Quick check-in of problem areas
-
Reset anything that’s starting to pile up
Seasonal:
-
Revisit categories (clothes, storage areas)
-
Remove items you no longer use
Important Mindset Tips

-
Progress is better than perfection
-
You don’t need fancy bins to be organized
-
Decluttering is an ongoing process—not one-time
-
It’s normal to feel overwhelmed—just return to one small step
-
Don’t sort everything before decluttering (this slows people down significantly)
Other Ideas:
-
Create a “drop zone” for everyday items
-
Use a “one in, one out” rule for certain categories
-
Keep sentimental items contained to a defined space
-
Digitize paperwork and photos to reduce physical clutter
-
Keep a donation system in place. Have a designated bin or bag for items you’re ready to let go of. When it fills up, drop it off. This helps keep clutter under control.